With the continuous advancement of 3D printing technology using SLA resin, it has become common practice to utilize a 3D printer for constructing a master mold using UV resin when making silicone molds. However, when platinum-cured silicone comes into contact with UV resin models that are not fully cured by UV light, the curing process can be inhibited. This article will provide a solution to the inhibition of curing of platinum-cured silicone caused by UV resin models.
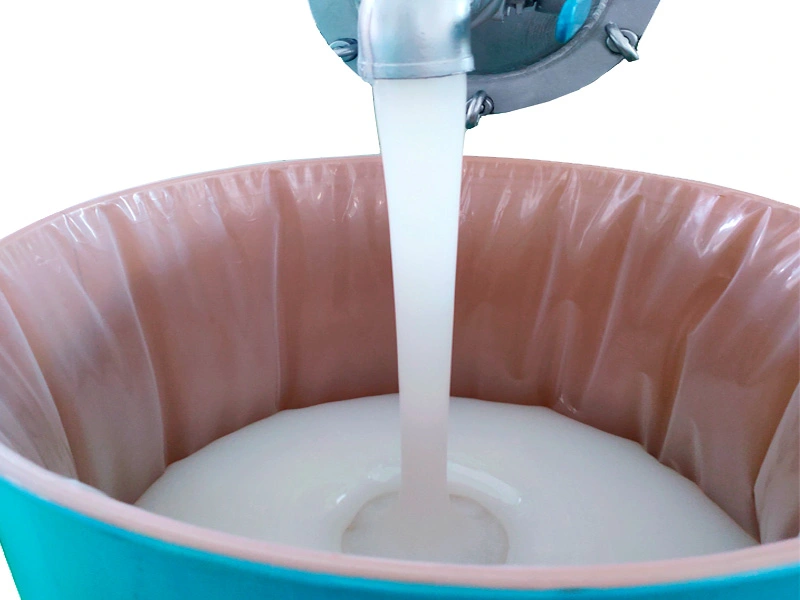
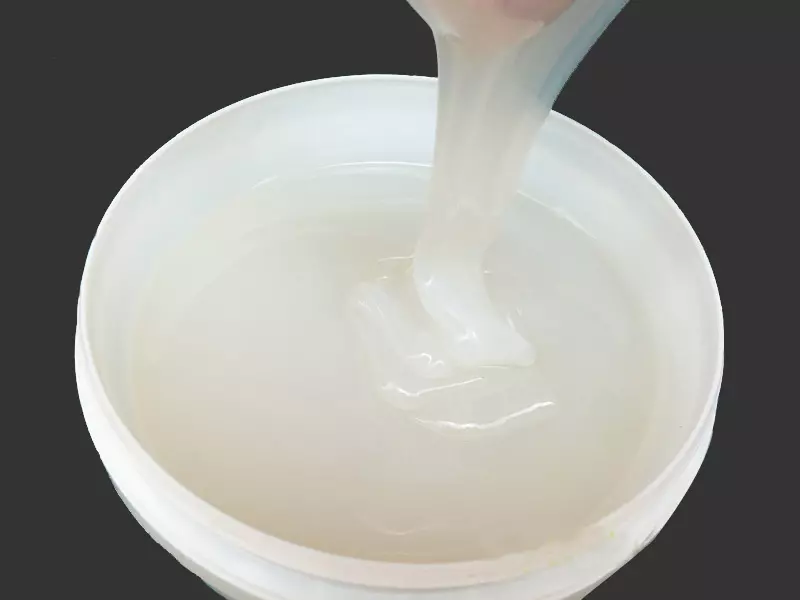
 cure inhibited silicone
Cause Analysis
UV resin is a common material used in 3D printing, and it can rapidly solidify under UV light exposure. Analysis indicates that in models printed with 3D printing, the incomplete curing of phosphine oxide photoinitiators can cause platinum catalyst poisoning, which is a prevalent issue in SLA resin materials. However, the photoinitiators can be eliminated through post-curing treatment.
UV Resin Curing Principle
In the SLA (Stereolithography) printing process, a laser is directed at specific areas of the resin material to initiate curing. Once this step is completed, the entire object is considered finished. However, the printed resin object is not fully cured at this stage. To understand this phenomenon, it is necessary to delve into the principle of the transition from a liquid to a solid state in UV resin.
The liquid resin is composed of a mixture of various free monomers and photoinitiators. When exposed to ultraviolet (UV) light, the photoinitiators undergo a reaction that prompts the free monomers to combine and crosslink, leading to solidification. However, this only represents the initial curing stage, and many areas may not achieve the desired degree of crosslinking. Therefore, post-curing has a significant impact on the final performance of the printed object, but it is often overlooked in SLA printing.
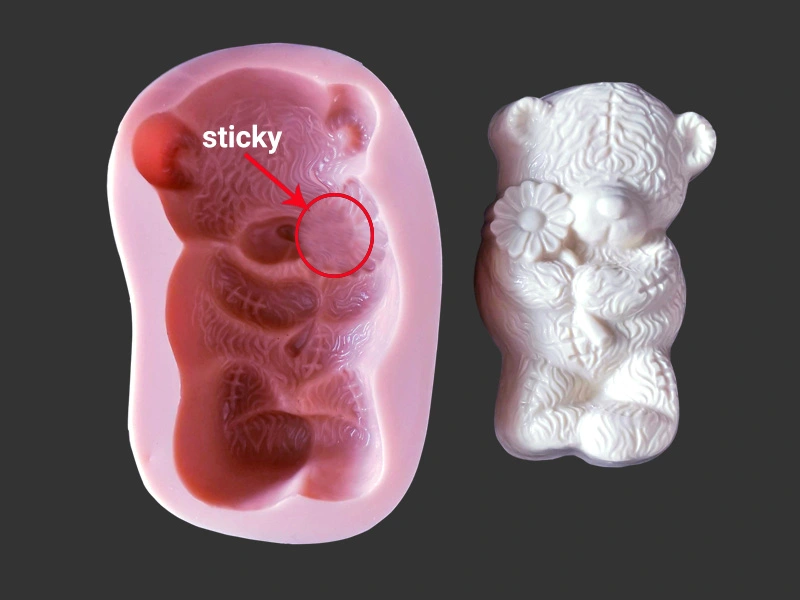
Therefore, addition-cure silicone is suitable for most SLA 3D printed models, but it is crucial for the printed models to be fully cured. However, in the case of most 3D-printed UV resin models, they are not fully cured, and directly pouring platinum-cure silicone will result in a sticky and uncured outcome. To address this issue, we have provided four solutions for your reference.
1. Surface Treatment
Place the 3D-printed object in isopropyl alcohol (91%) or ethanol and let it soak for 10-15 minutes to remove any uncured resin residue from the surface of the model. Next, clean the model with a dishwashing detergent or soap bath, followed by a thorough rinse with water. Finally, air dry the model and complete the curing process by heat drying (recommended at 80-90°C for 3-5 minutes).
Evaluation: Isopropyl alcohol is used because it has the ability to break down uncured photopolymer resin.
2. Post-Curing
UV resin models can achieve better curing effects when exposed to both heat and light. In fact, sunlight is also a viable source of UV light. If you have enough time, placing the model under UV light or in direct sunlight can help with the curing process. The curing time may vary for different models, depending on the level of exposure to UV light or direct sunlight in different areas of the model. It is important to ensure that all areas of the model are exposed to UV light or direct sunlight for complete curing.
Evaluation: The two methods mentioned above can be used in combination, and it is also possible to repeat the cleaning and post-curing steps 2-3 times.
3. Primer
The method operates on the principle of applying a thin and even layer of primer (such as nitrocellulose primer, clear acrylic paint, Inhibit X, etc.) onto the model's surface, either through wiping, soaking, or spraying. After curing, the primer forms a protective shield over the surface, acting as a barrier. This prevents any interaction between the uncured photoinitiator on the model and the platinum-cured silicone, effectively preventing cure inhibition.
Evaluation: This method is particularly effective for models with intricate undercuts (deep areas, odd angles) since exposing these recessed regions to a UV light source can be challenging. However, it is worth noting that this method may lead to slight dimensional deviations in the cast mold.
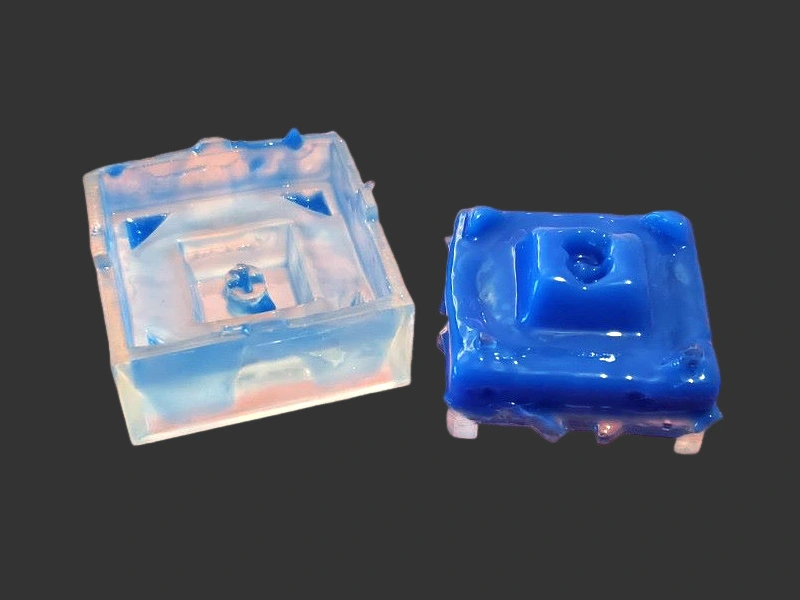
4. Substitution
First, create a silicone mold using tin-cure silicone for the UV resin model. However, if your project allows for a certain degree of shrinkage, you can directly use tin-cure silicone to make the mold, as it is not affected by UV resin curing inhibition.
Next, cast the epoxy resin model using the tin-cured silicone mold, which will result in an epoxy resin model that matches the original UV resin model. While it is not mandatory to use epoxy resin in this step, you can also opt for other suitable materials. However, it is important to ensure that the chosen material does not impede the curing process of the platinum cure silicone.
Finally, use the epoxy resin model as the master mold and create the silicone mold using platinum-cure silicone.
Evaluation: Tin-cure silicone exhibits a slightly higher shrinkage rate compared to platinum-cure silicone and has a thicker viscosity, necessitating the use of a vacuum pump for degassing during application.
It is important to note that these solutions are only suggestions. The specific solution may vary depending on the silicone and 3D printing materials employed. Therefore, it is necessary to validate the solution that best suits your project through actual testing.