Transparent silicone is an ideal material for making jewelry molds due to its low shrinkage rate and high transparency. It allows for easy observation of bubbles and other defects in the casting material, thereby improving the accuracy and quality of the mold. This article will provide a detailed guide on how to make a ring mold using transparent silicone.
Tools and Materials
- Transparent silicone
- Ring model
- Aluminum mold template
- Cyanoacrylate adhesive
- Vacuum pump
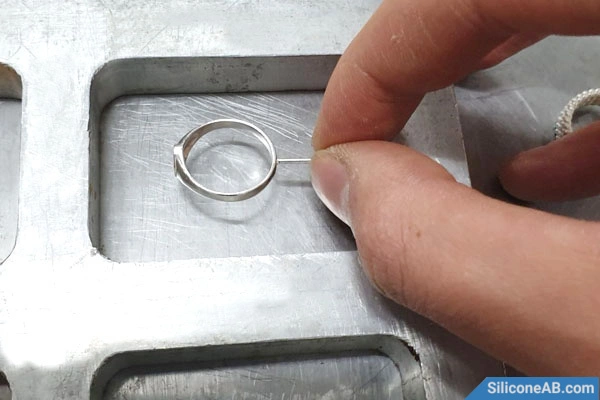
Step 1: Prepare the Master Model
First, clean and dry the ring model thoroughly to ensure there is no dirt or residue. A clean master model ensures the quality and detail of the final mold.
 ring model
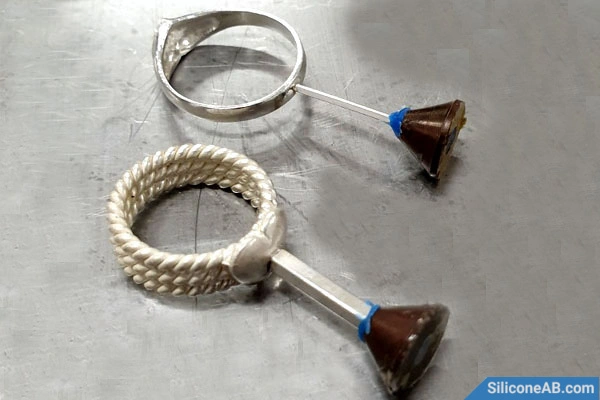
Step 2: Secure the Master Model
Use cyanoacrylate adhesive to fix the ring model onto an aluminum plate, ensuring it is firmly in place. This helps maintain the position of the ring model during the silicone pouring process, ensuring mold accuracy.
 fixed model
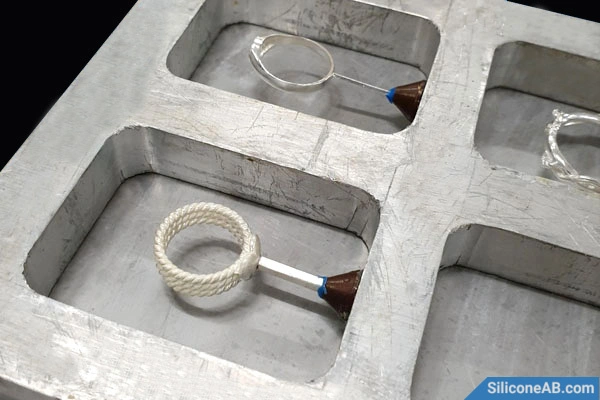 fixed ring
Step 3: Weigh the Silicone
According to the instructions for the transparent silicone material, weigh Part A and Part B at a ratio of 10A:1B by weight. Accurate proportions are crucial for the silicone to cure properly.
 rtv-2 clear silicone
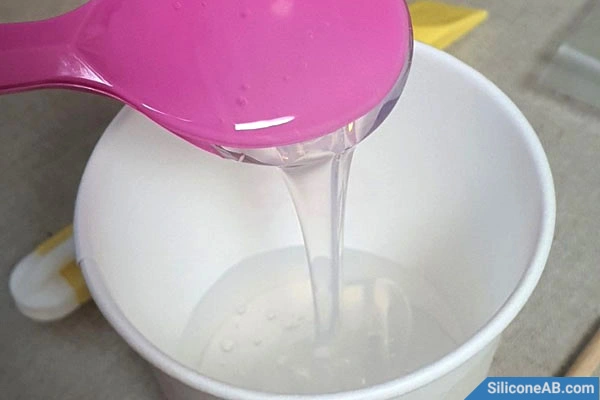 transparent liquid silicone
Step 4: Mix the Silicone
Thoroughly mix the weighed Part A silicone and Part B curing agent. Since transparent silicone has a high viscosity, it requires thorough and even mixing to avoid uneven curing.
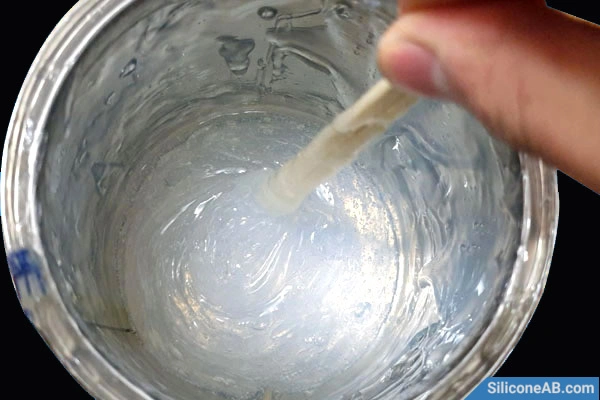 stirring silicone
Step 5: Vacuum Defoaming
Place the mixed silicone into a vacuum pump for defoaming. In the vacuum environment, the liquid silicone will expand rapidly, so the mixing container should be large enough to prevent overflow. Defoaming effectively removes bubbles, enhancing the quality of the silicone mold.
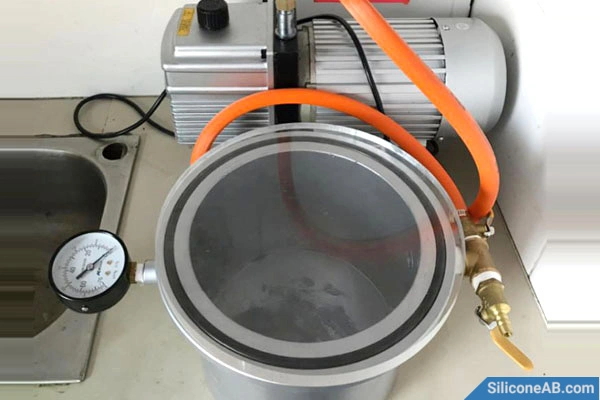 vacuum pump
 vacuum degassing
Step 6: Pour the Silicone
Pour the transparent silicone into the mold box, covering the ring model by 0.5-1 centimeter. If small bubbles appear during pouring, gently pop them with a toothpick to ensure a smooth, bubble-free mold surface.
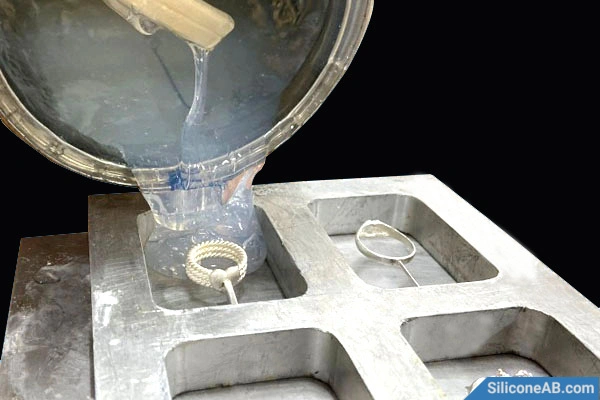 pour in silicone
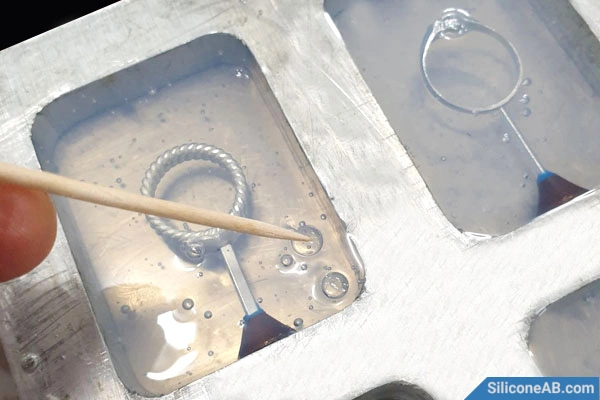 pop the bubbles
Step 7: Wait for Curing
Transparent silicone requires a longer curing time compared to other types of silicone, and the curing temperature should not be below 20°C (70°F). To speed up the curing process, you can cure it at a mild temperature of 40-60°C (104-140°F), but excessive temperature can increase the shrinkage rate of the silicone.
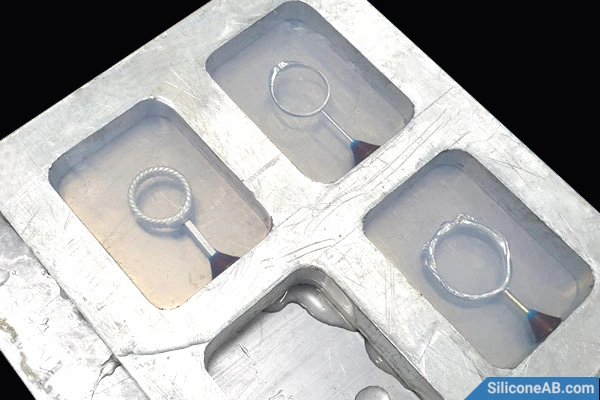 waiting for curing
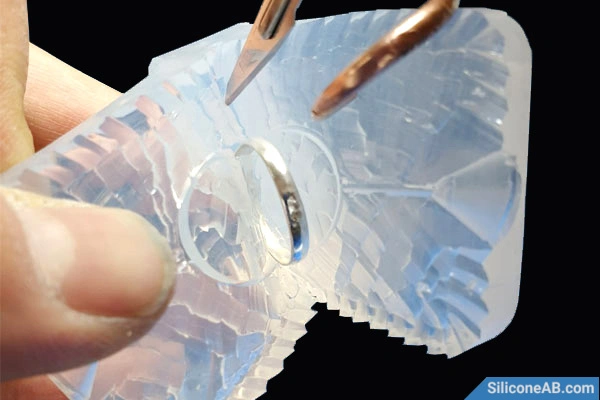
Step 8: Cut and Separate
Once the silicone is fully cured, carefully cut the mold to separate the ring model. Take care not to use excessive force to avoid damaging the silicone mold.
 cutting silicone
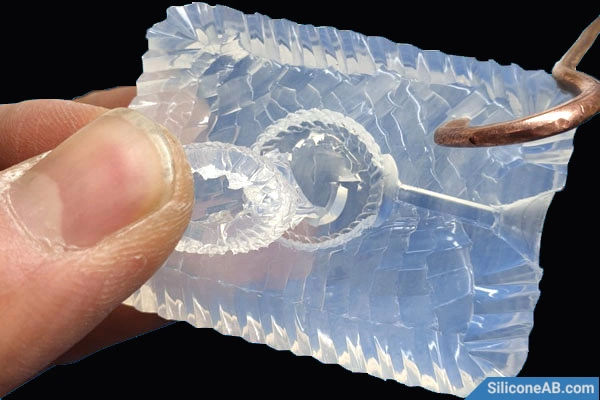 separation silicone
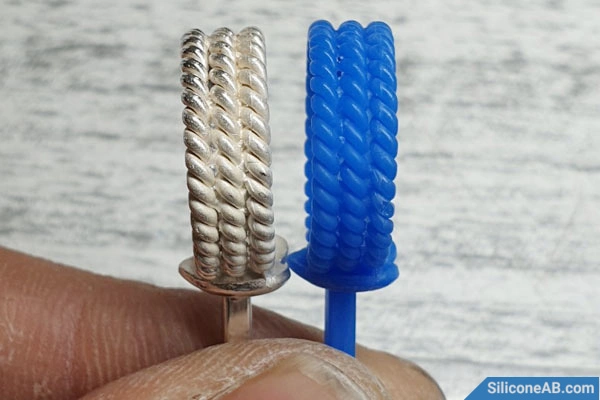
Step 9: Cast the Product
After completing the silicone mold, you can pour casting liquid material into it to replicate the product exactly as the master model.
 prototypes and replicas
By following these steps, you can use transparent silicone to create a precise ring mold. We hope this guide helps you successfully produce the ideal silicone mold.