In this article, we will demonstrate how to use platinum-cured silicone to make a 3D Santa Claus model. With detailed steps and some handy tips, you can swiftly create a flawless silicone mold and cast a 3D model.
 colored santa claus model
Tools & Materials
-
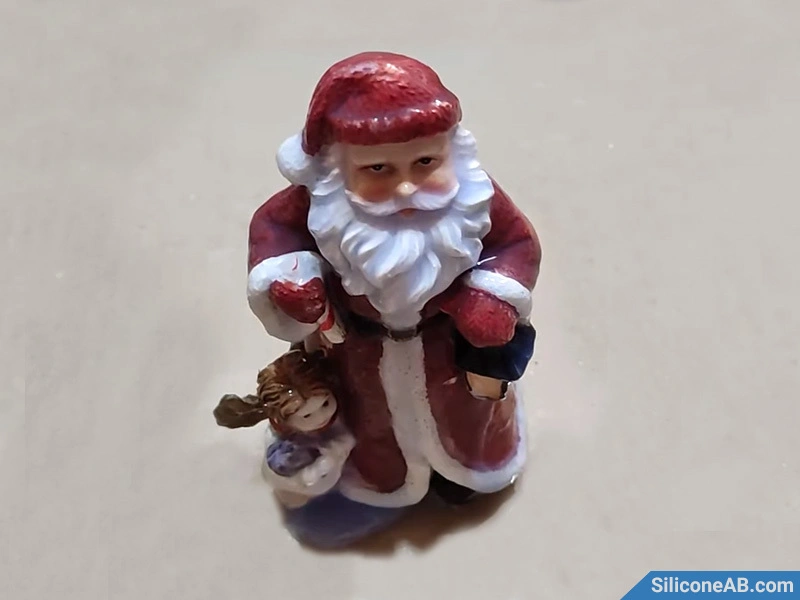
Original model: Santa Claus
-
Vaseline mold release agent
-
Electronic scale
-
Brush
-
Plaster
-
Mixing container + stirring stick
-
Cylindrical mold frame
Step 1: Prepare the Original Model
First, thoroughly clean and dry the 3D Santa Claus model. Evenly apply a layer of Vaseline mold release agent to the surface of the original model. This step ensures that the silicone can be easily separated from the original model after curing.
 apply release agent
Step 2: Mix the Silicone
Estimate the amount of silicone needed, and weigh out parts A and B of the platinum-cured silicone in a 1:1 ratio. Mix the two parts thoroughly. You can also add silicone pigment during the mixing process if desired.
 weigh silicone part A
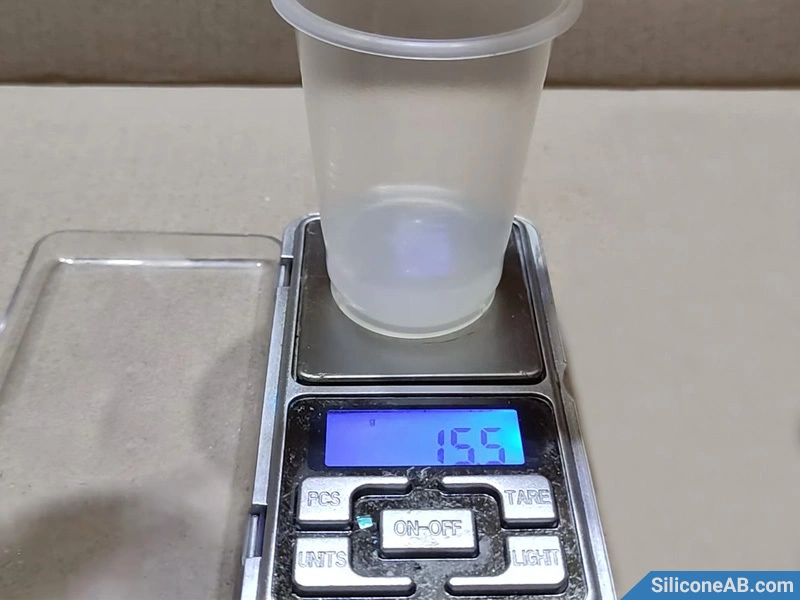 weigh silicone part B
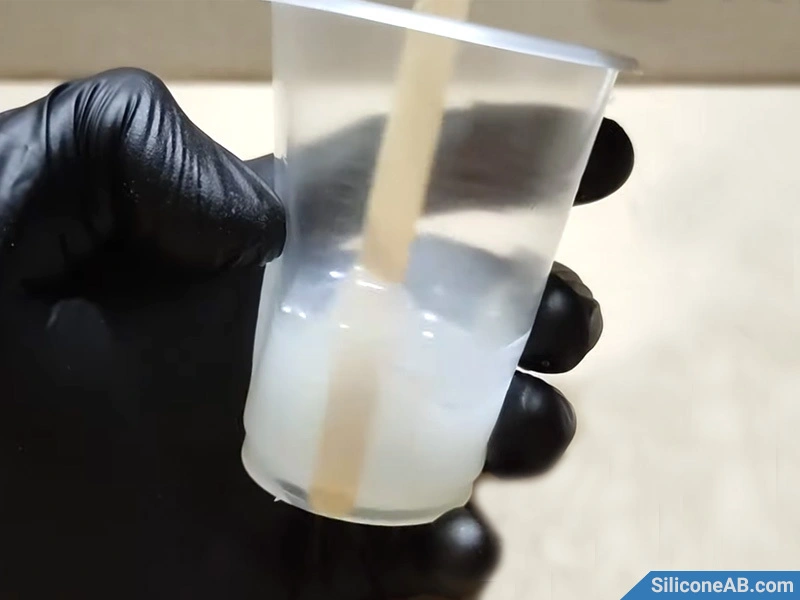 stirring liquid silicone
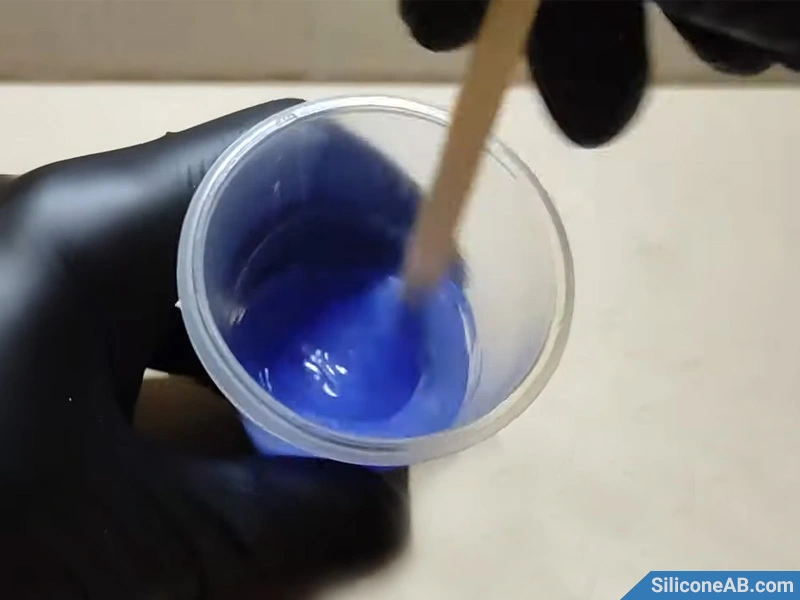 add blue silicone pigment
Step 3: Apply the Silicone
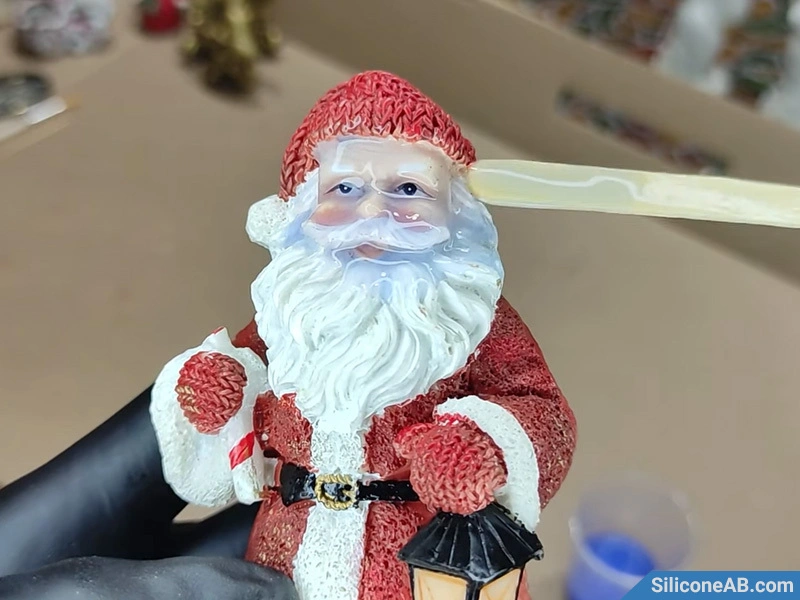
Because the Santa Claus model has intricate surface details, start by applying a thin layer of silicone to the surface of the original model. Use a toothpick to pop any bubbles. This step is crucial for making a perfect mold.
 apply liquid silicone
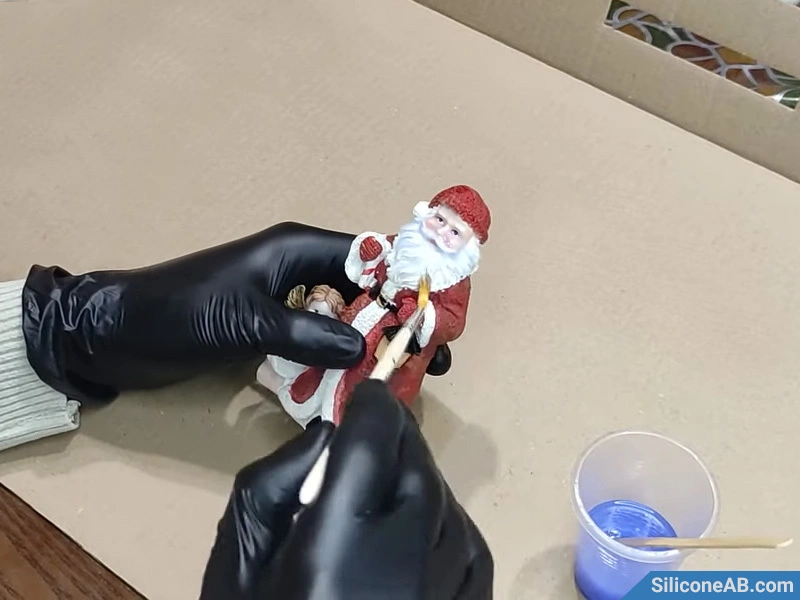 apply silicone
Step 4: Secure the Original Model
Secure the original model and cover it with the mold frame. Ensure the bottom of the mold frame is sealed with hot glue to prevent the liquid silicone from leaking out.
 drying silicone
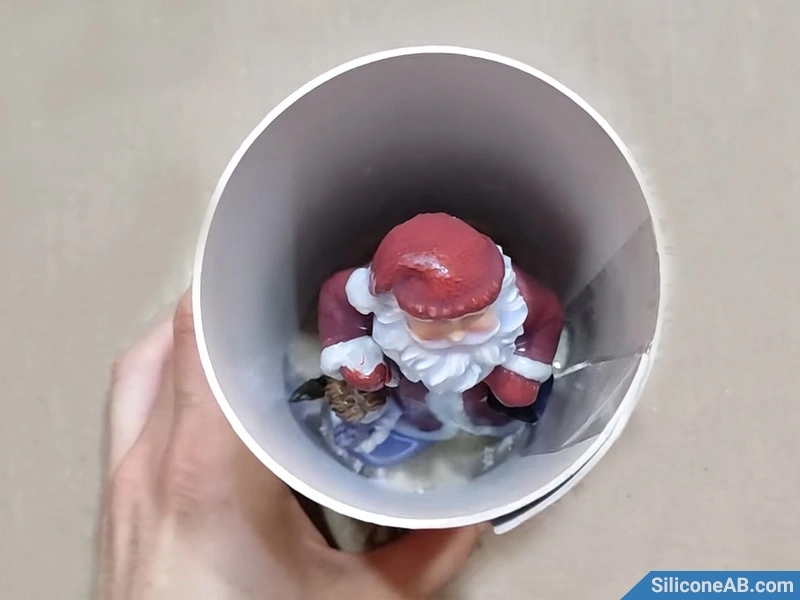 building the frame
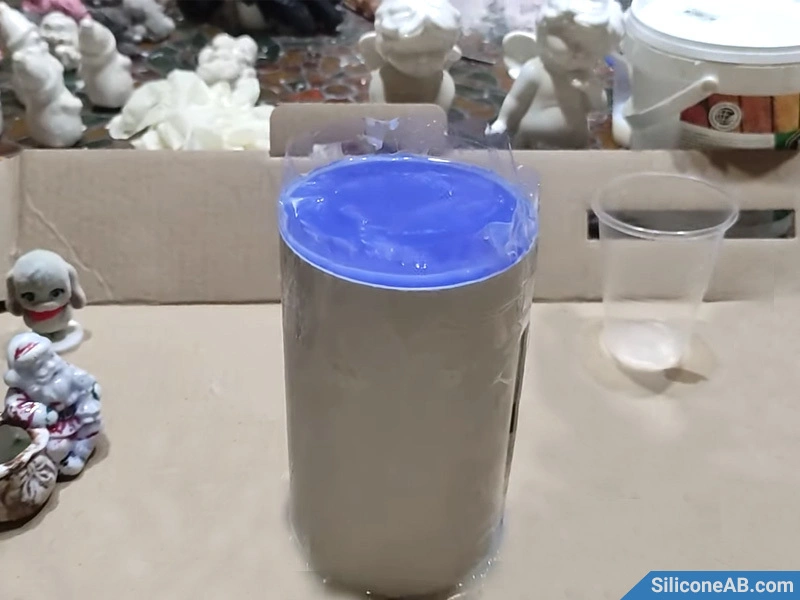
Step 5: Pour the Silicone
After ensuring that the first layer of silicone is bubble-free and partially cured, pour in more silicone until it covers the highest point of the original model with an additional 0.5-1 cm of height.
 pour liquid silicone
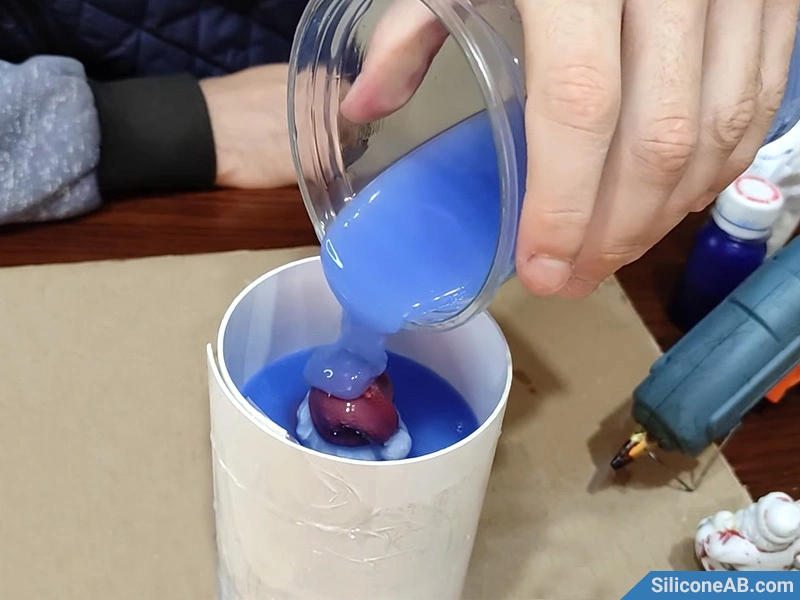 pour silicone
Step 6: Remove the Mold
Wait for the silicone to fully cure (4-6 hours), then cut the mold in half to remove the original model. It is recommended to cut the mold in a zigzag pattern to facilitate easier reassembly later.
 wait for the silicone to cure
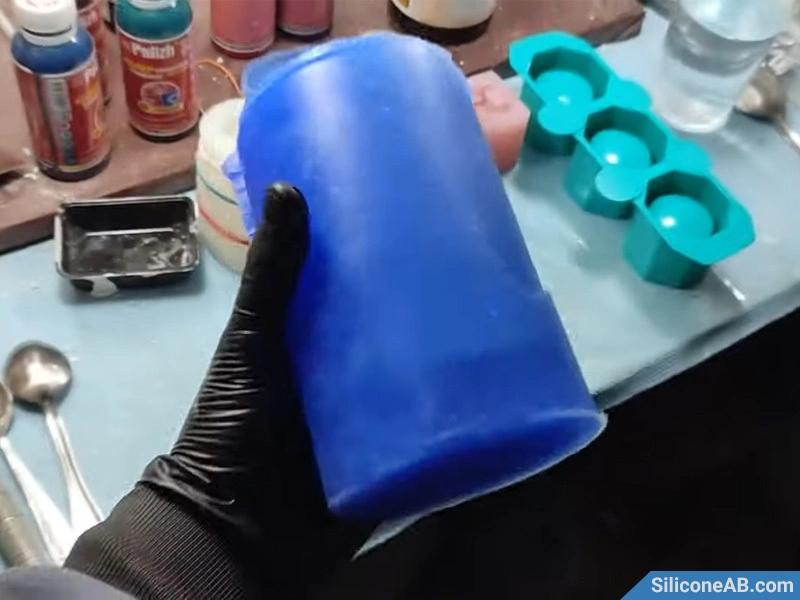 fully cured silicone
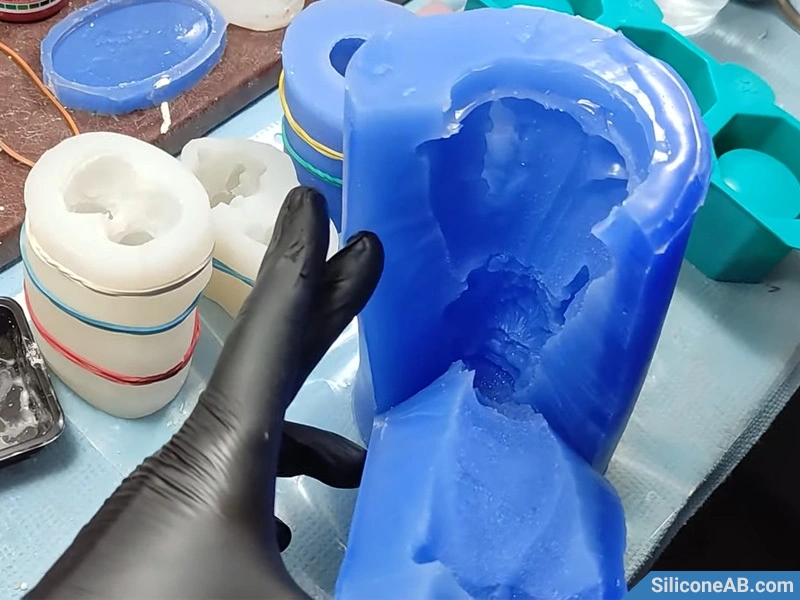 cut silicone
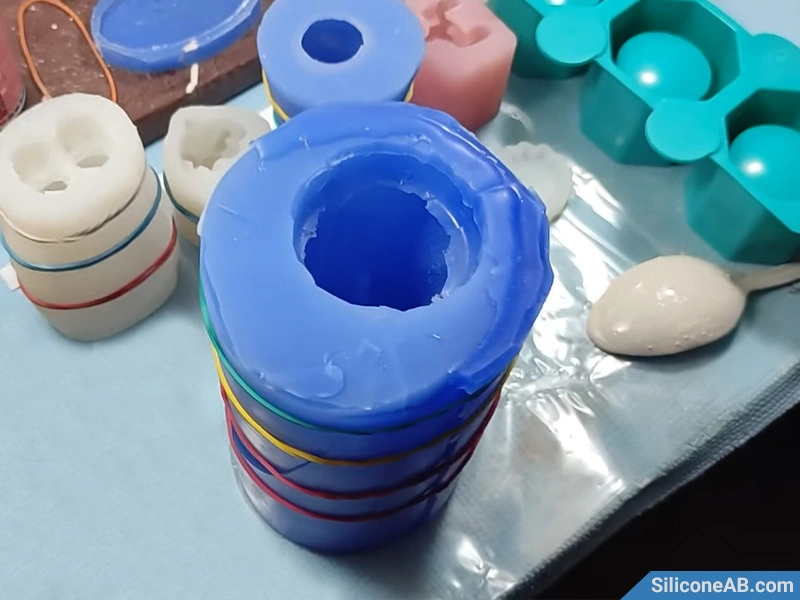 trimming silicone
Step 7: Reassemble the Mold
Reassemble the cut silicone mold and secure it with rubber bands.
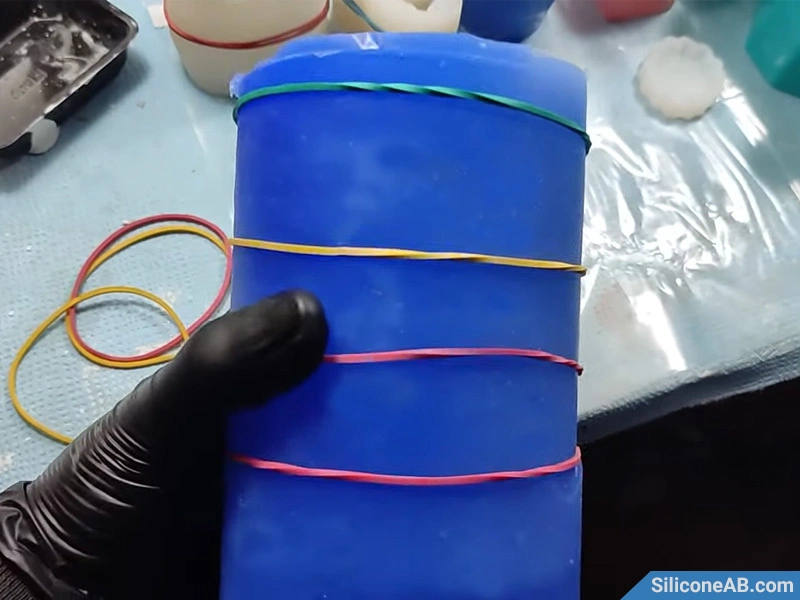 recombination of silicone
- combined fixed silicone
Step 8: Pour the Plaster
Pour plaster into the mold and gently shake the mold to reduce bubble formation. For a perfect cast, it is recommended to use a vacuum device.
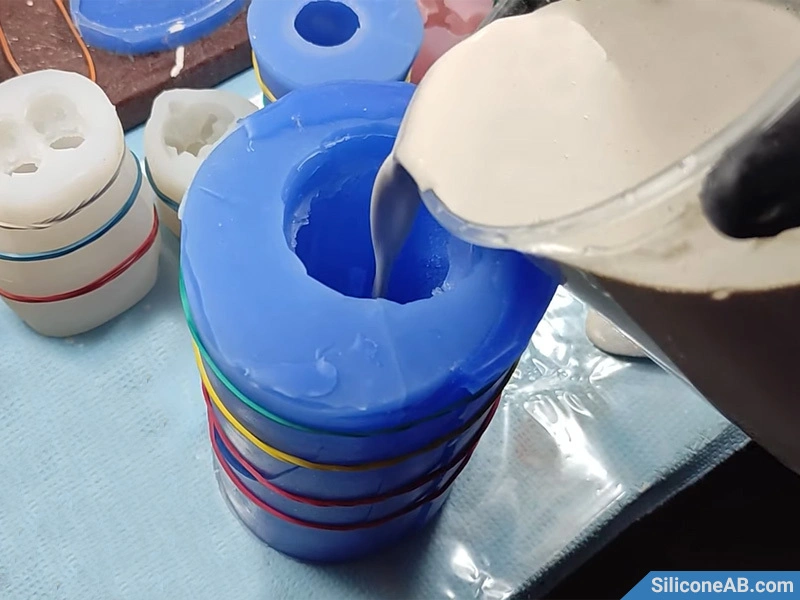 pour the plaster
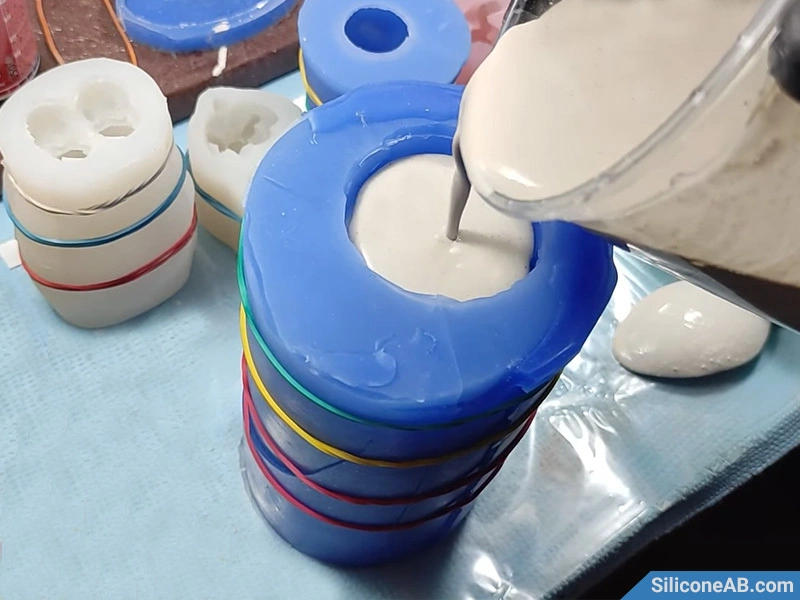 fill with plaster
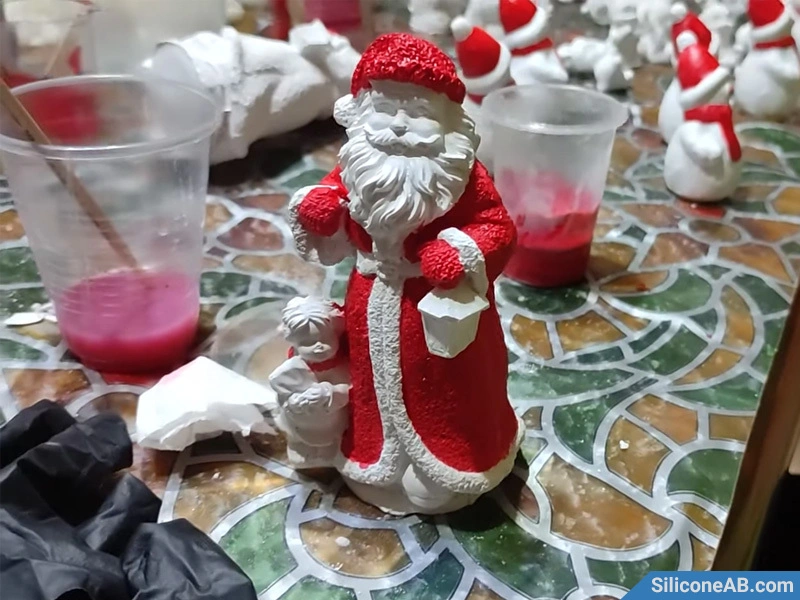
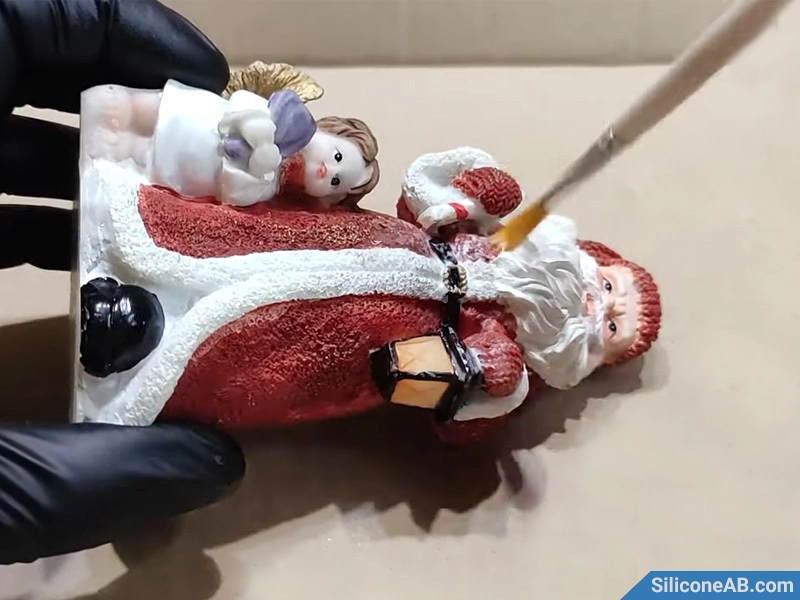
Step 9: Touch Up the Mold
After the plaster has set (about half an hour), open the mold and make simple repairs to any flaws. Finally, spray on some color, and you have a perfect Santa Claus replica.
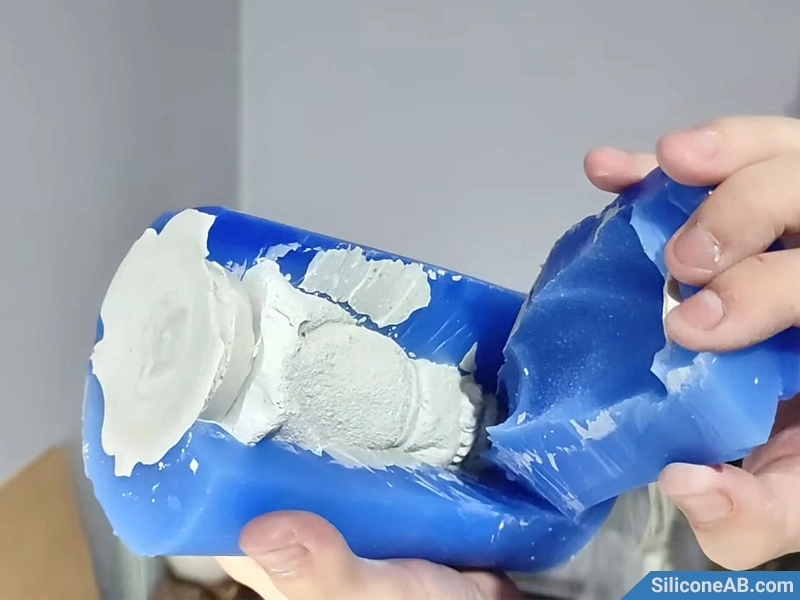 separation mold
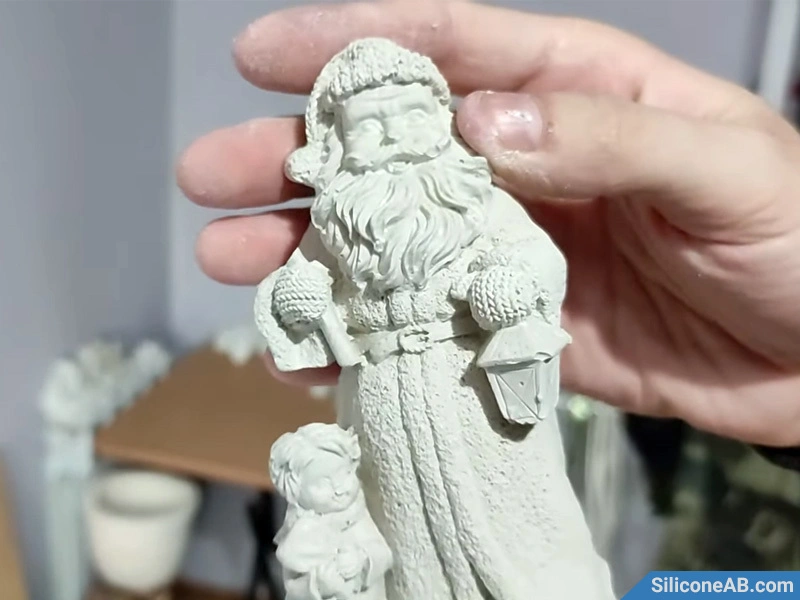 santa claus plaster model
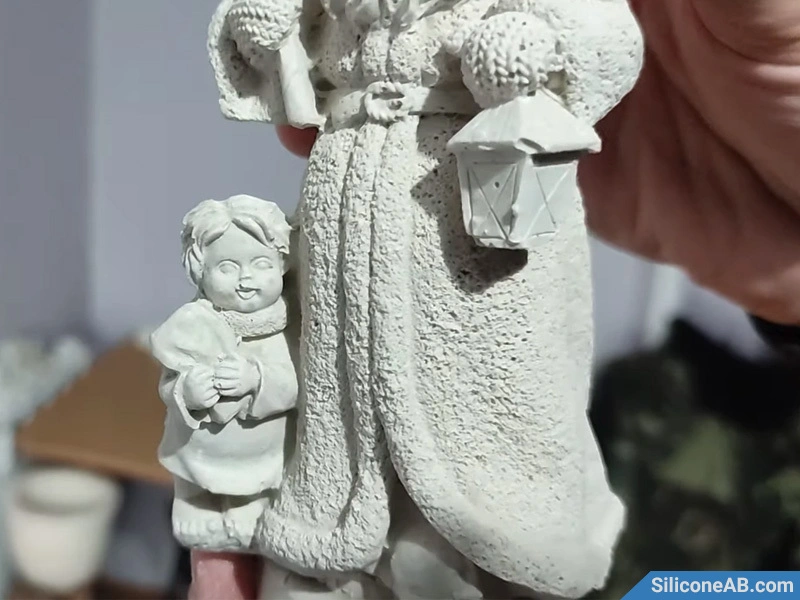 santa claus model
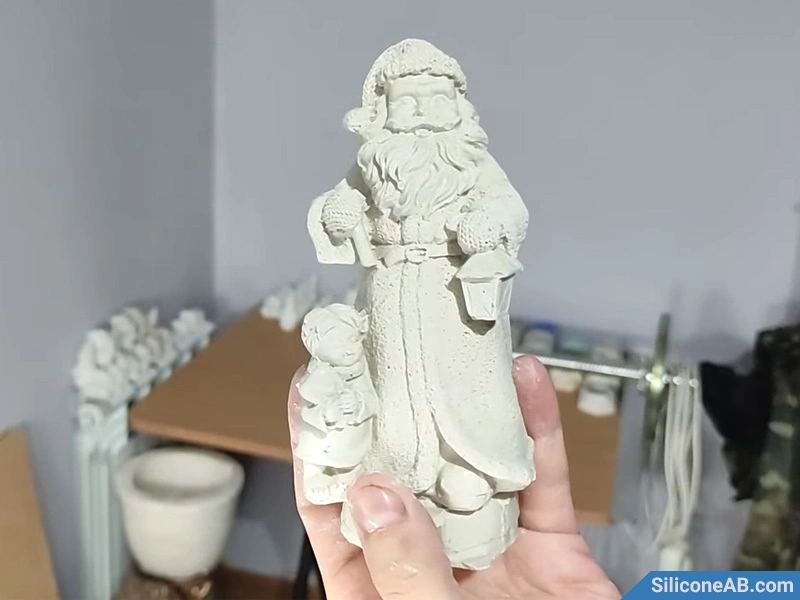 3D santa claus model
By following these steps, you can easily use platinum-cured silicone to create a beautiful 3D Santa Claus model. It's both fun and practical. Happy crafting!