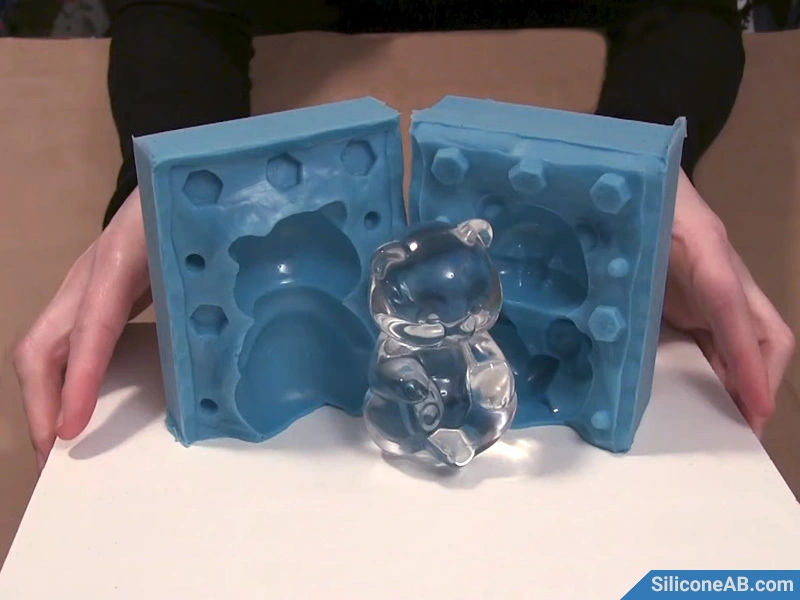
Creating a two-part silicone mold is an ideal technique for casting irregularly shaped 3D objects. A single-piece silicone mold can be challenging to demold when dealing with complex shapes, making a two-part mold a better choice. This article provides a step-by-step tutorial on how to create a two-part silicone mold, including detailed instructions and important considerations.
 two piece silicone mold
Tools and Materials
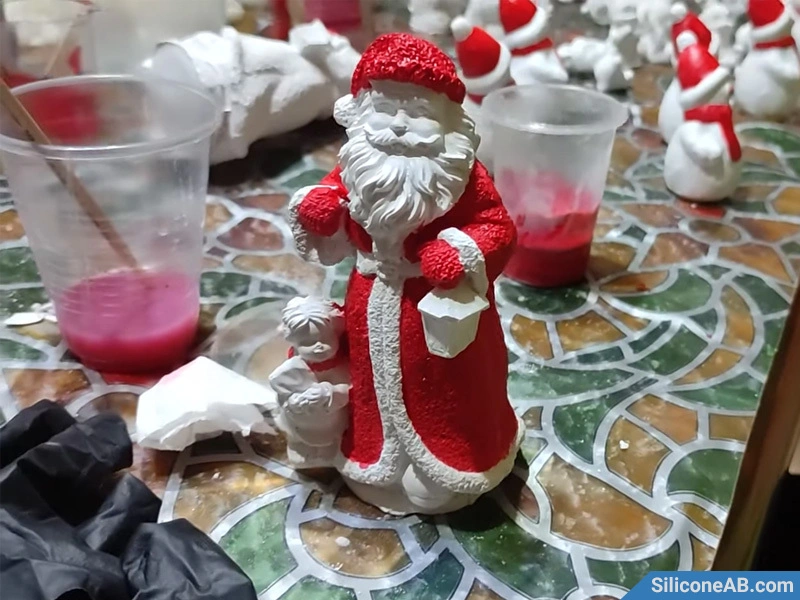
- Master model: Three-dimensional craft
- Platinum Cured Silicone
- Sulfur-free clay
- Mold box + clamps
- Mixing containers + stirring sticks
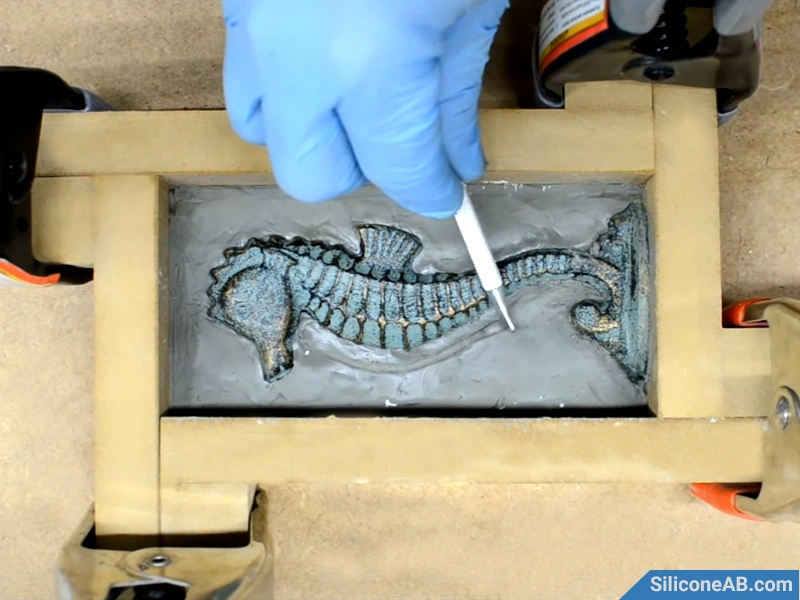
Step 1: Determine the Model Parting Line
First, identify the parting line for the model. Typically, the model is divided in half along this line. However, if the parting line crosses detailed areas (e.g., eyes, mouth, nose), you can adjust the parting line to curve over or under these details to avoid them. Embed the model into sulfur-free clay up to the parting line and smooth the clay neatly. Ensure you leave an injection port for pouring the liquid material later, usually at the bottom.
Note: When using platinum-cured silicone for mold making, sulfur-free clay must be used as sulfur can inhibit the platinum-cured silicone curing process.
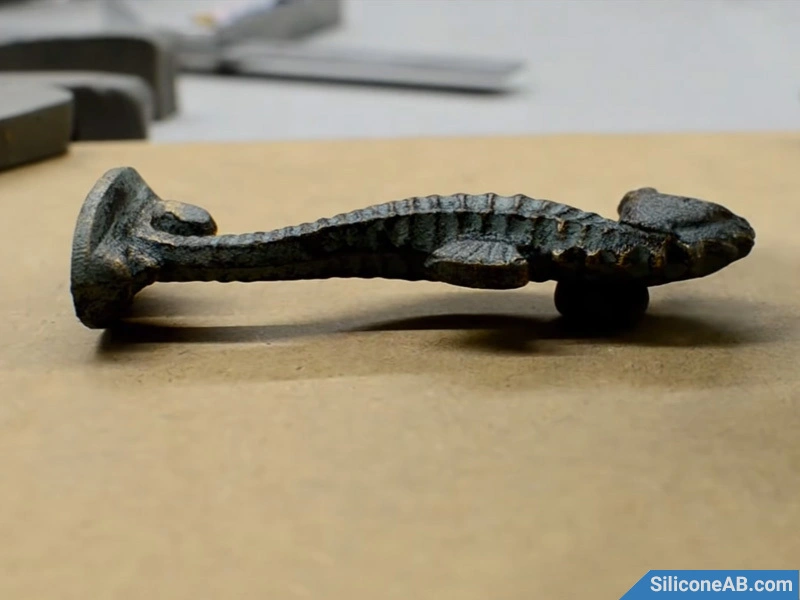 three dimensional craft
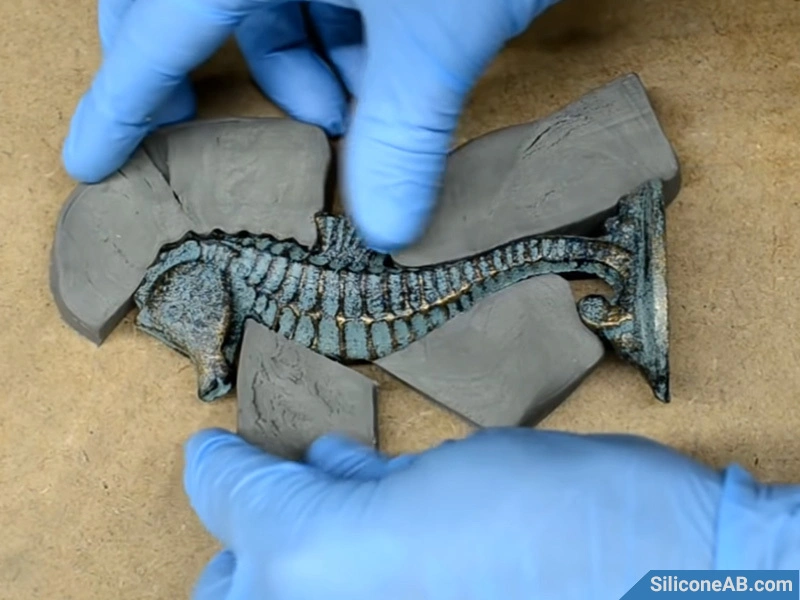 determine the parting line
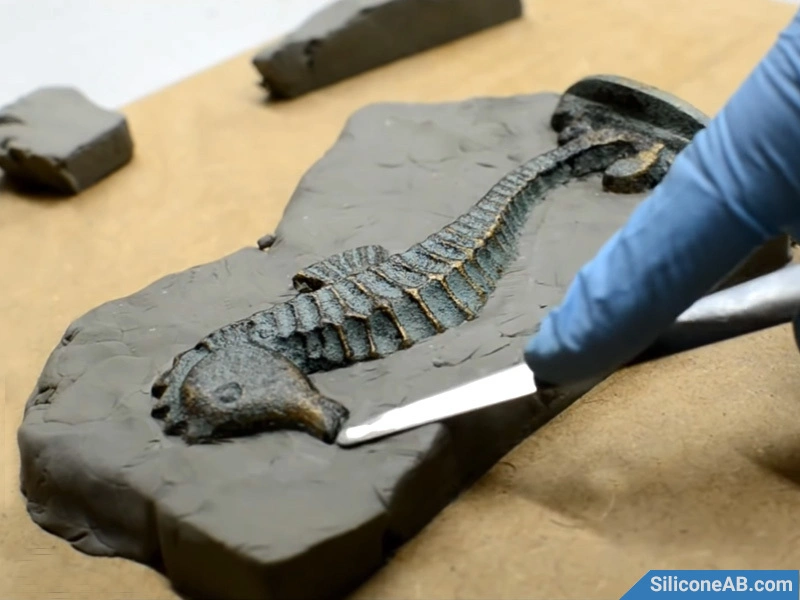 embedding clay
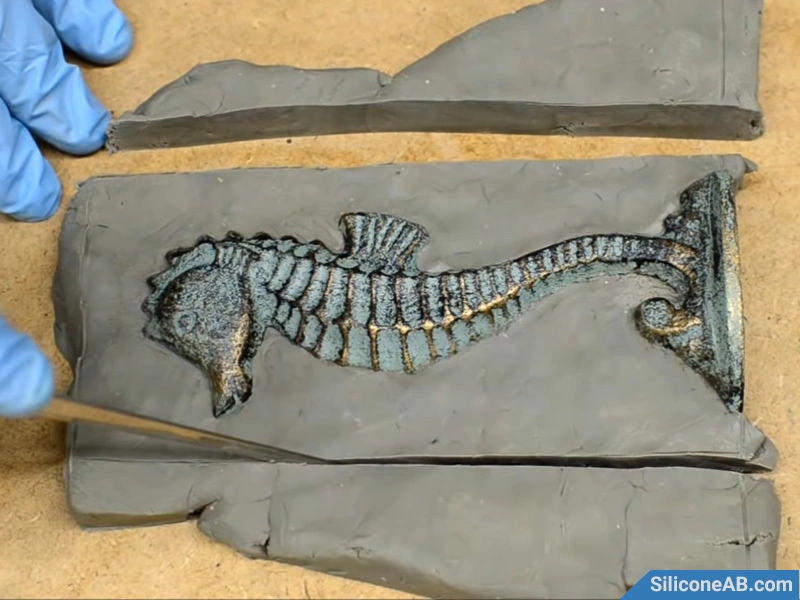 correction clay
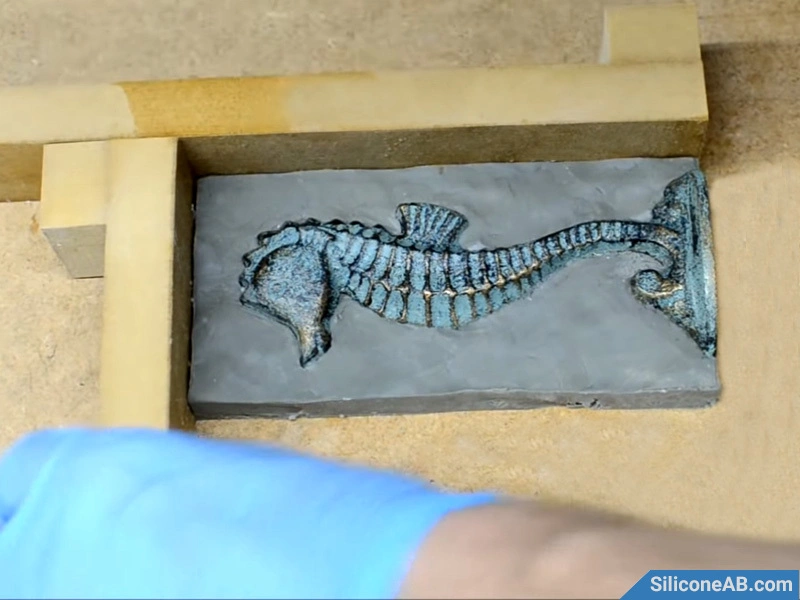
Step 2: Build the Mold Frame
Construct a mold frame around the model. The frame should be at least 1 cm away from the model's edges and extend more than 1 cm above the model's highest point. Seal all seams with clay or hot glue to prevent silicone leakage.
 building the mold box
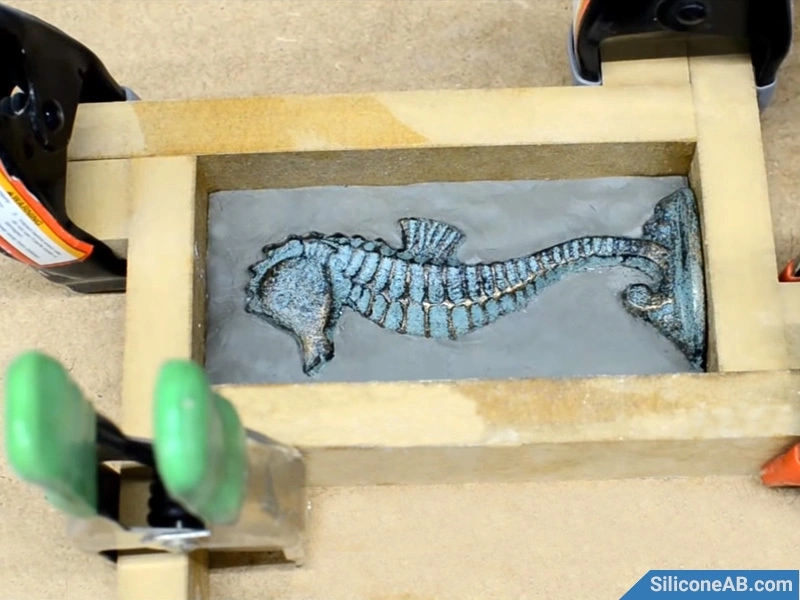 sealed mold box
Step 3: Create Alignment Keys
Carve out small grooves along the appropriate edges of the master model to serve as alignment keys. These will help the two mold halves align correctly and fit tightly, preventing leaks when pouring the casting material.
 scrape groove
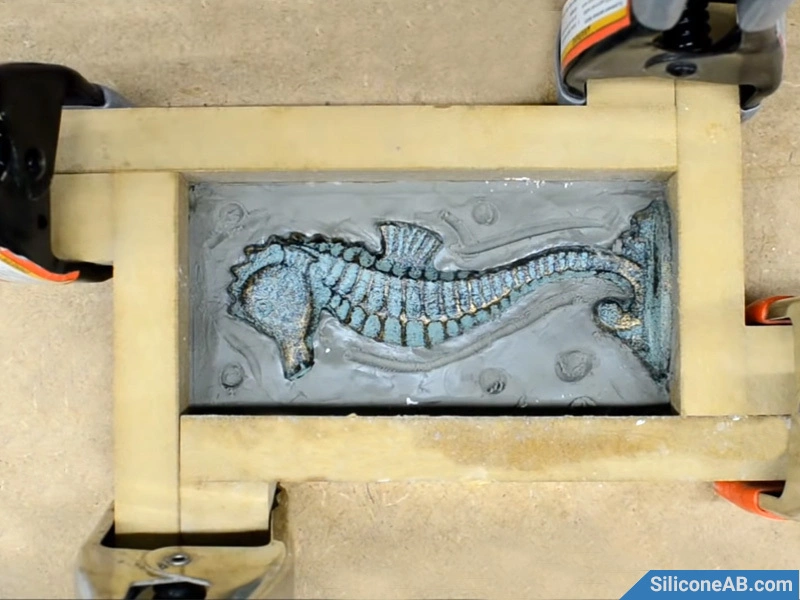 setting the positioning holes
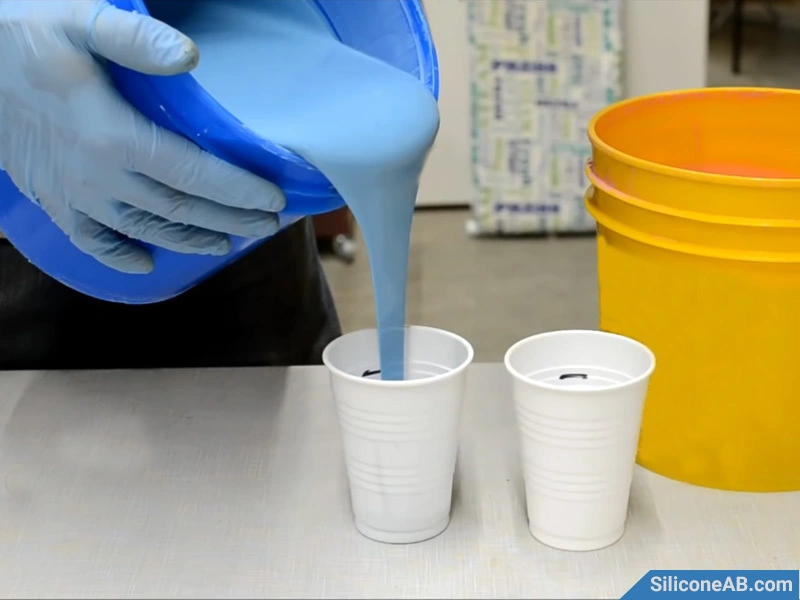
Step 4: Mix the Silicone
For mold making, RTV-2 silicone is commonly used, and here we choose platinum cured silicone. Mix parts A and B according to the instructions, and stir thoroughly. For accuracy, it's recommended to weigh the components. It is advisable to vacuum de-gas the mixed silicone to remove any air bubbles.
 weigh silicone part A
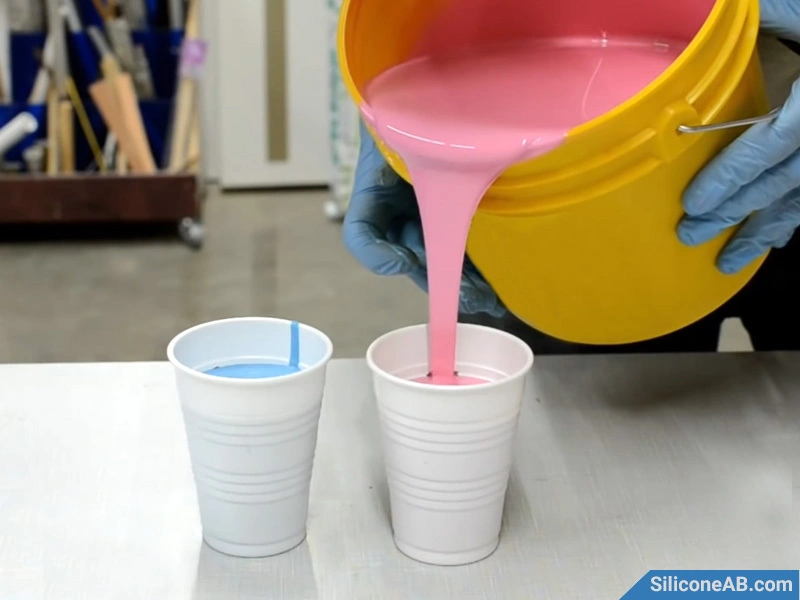 weigh silicone part B
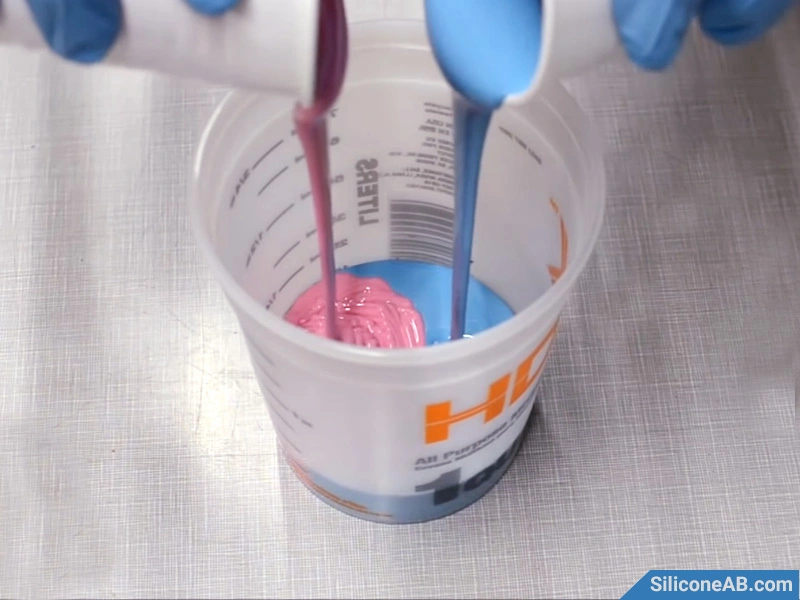 mixed silicone
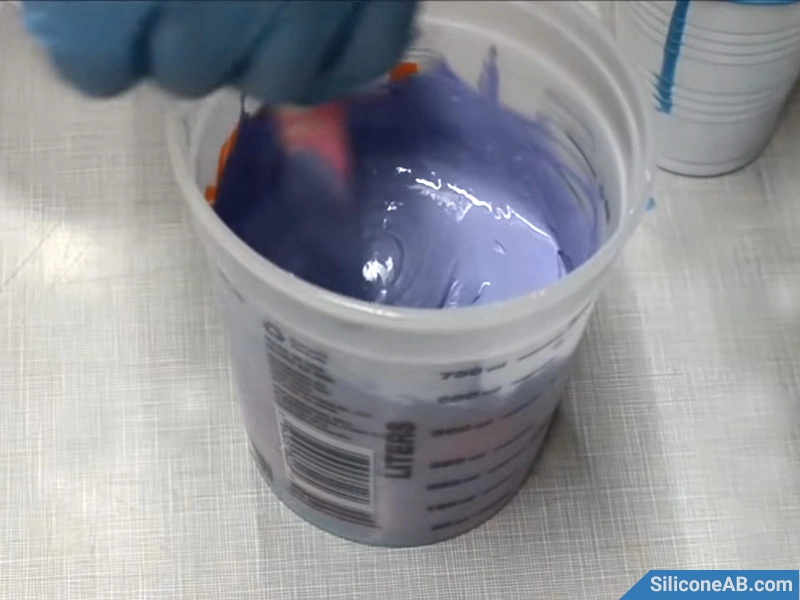 stirring silicone
Step 5: Pour the Silicone
Pour the prepared platinum cured silicone into the mold frame. Hold the mixing container at least 40 cm above the master model and pour in a thin stream to allow the silicone to self-level and minimize air bubbles.
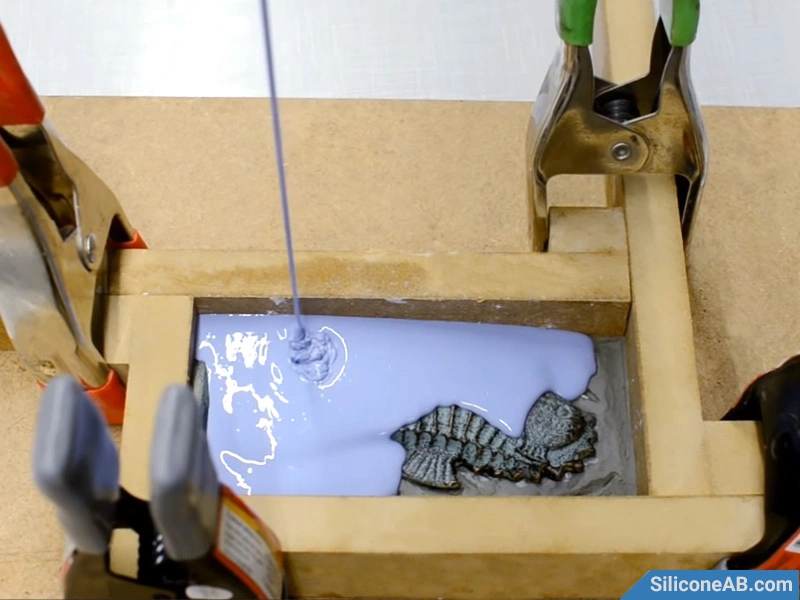 pour in silicone
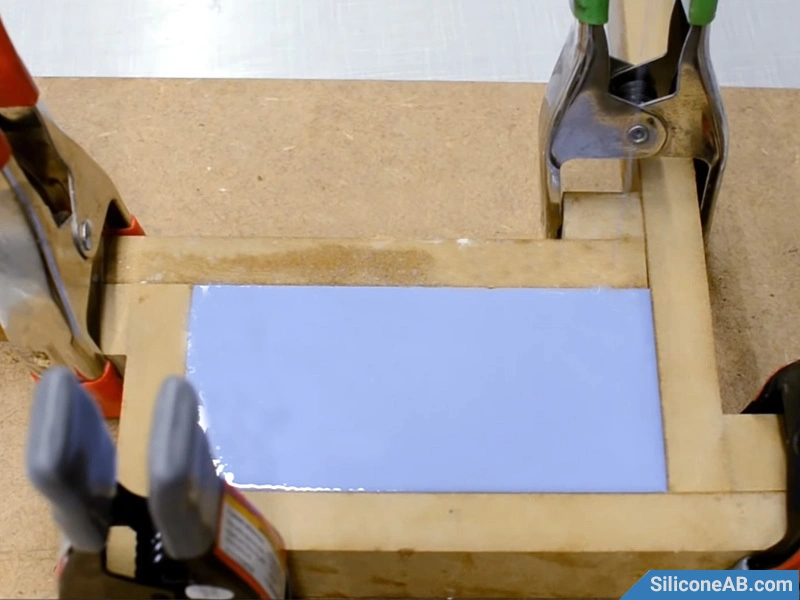 pour liquid silicone
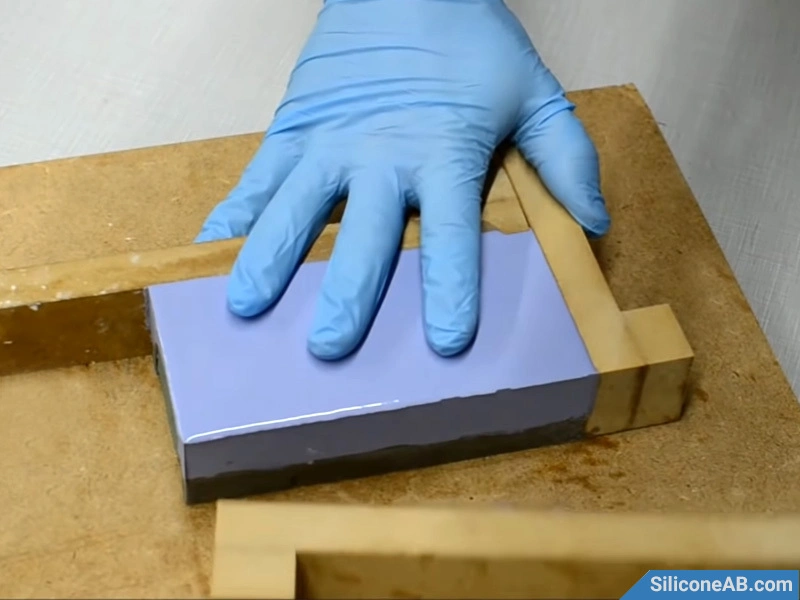
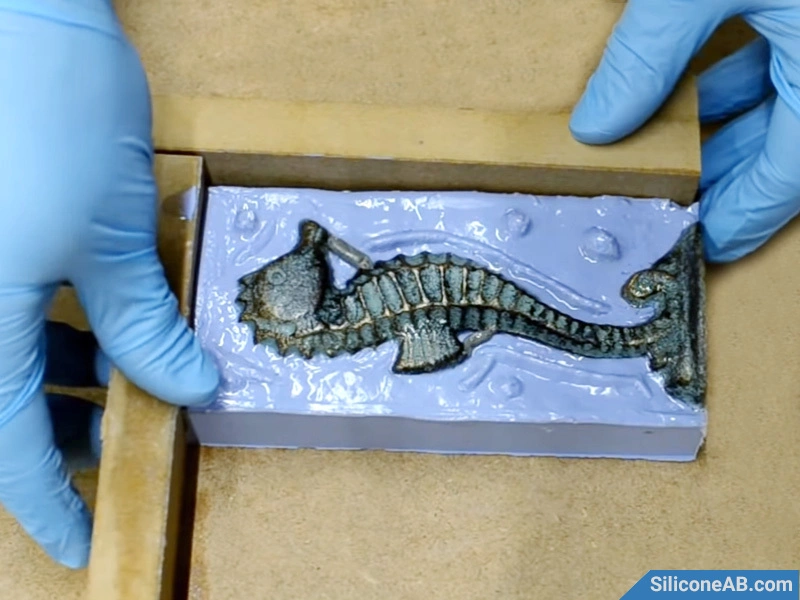
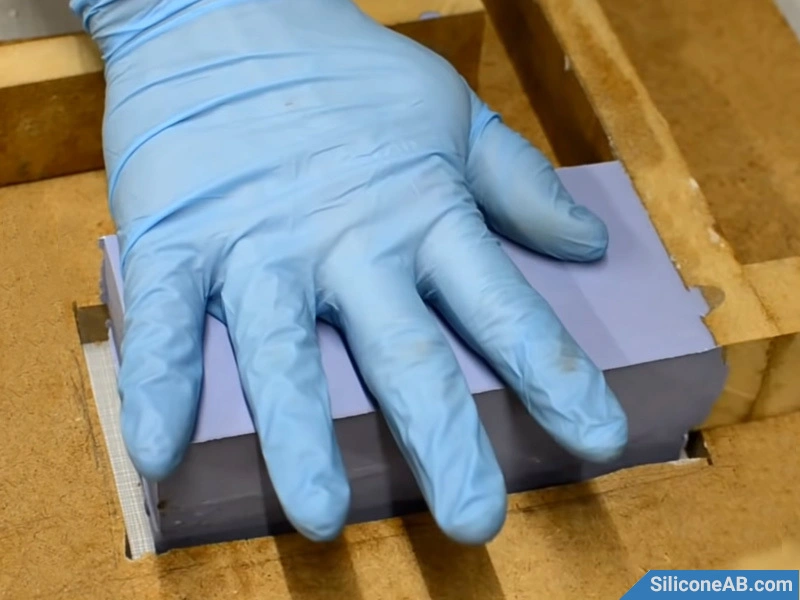
Step 6: Remove the Mold Frame
Wait approximately 6-8 hours for the silicone to fully cure. Once cured, remove the mold frame and clean off the clay from the mold. Depending on the shape of the master model, create vent holes to allow air to escape during casting. Apply petroleum jelly as a mold release agent to the silicone mold to prevent the two halves from sticking together after curing.
 removing the mold box
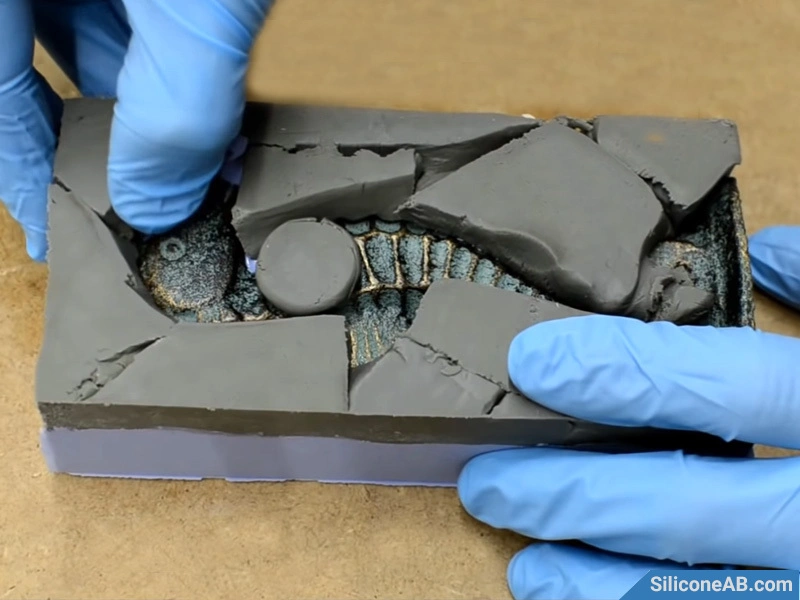 removing clay
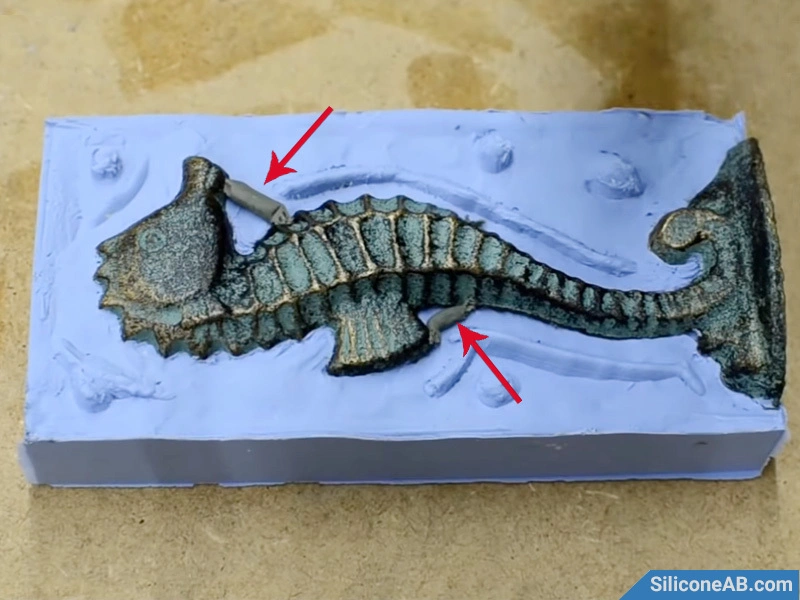 set up the exhaust vent
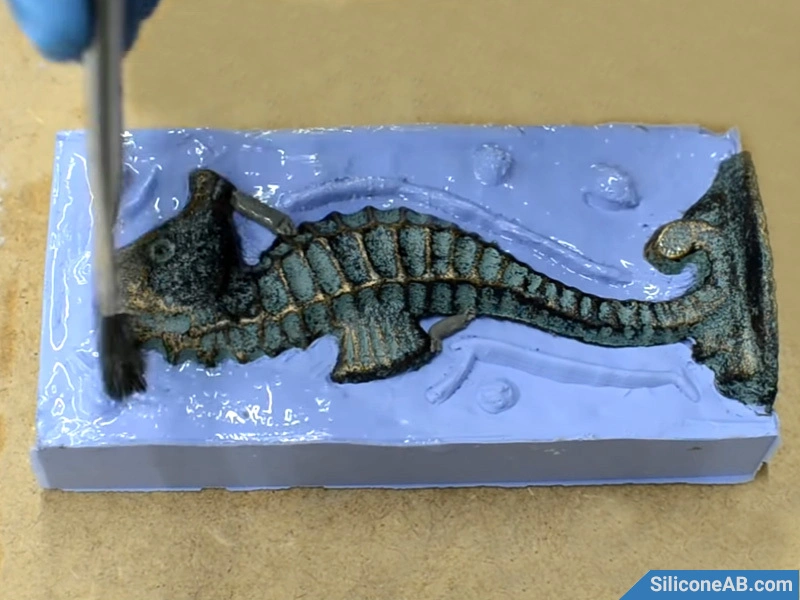 apply release agent
Step 7: Create the Second Mold Half
Repeat steps 2, 4, and 5 to create the second half of the silicone mold.
 rebuild the mold box
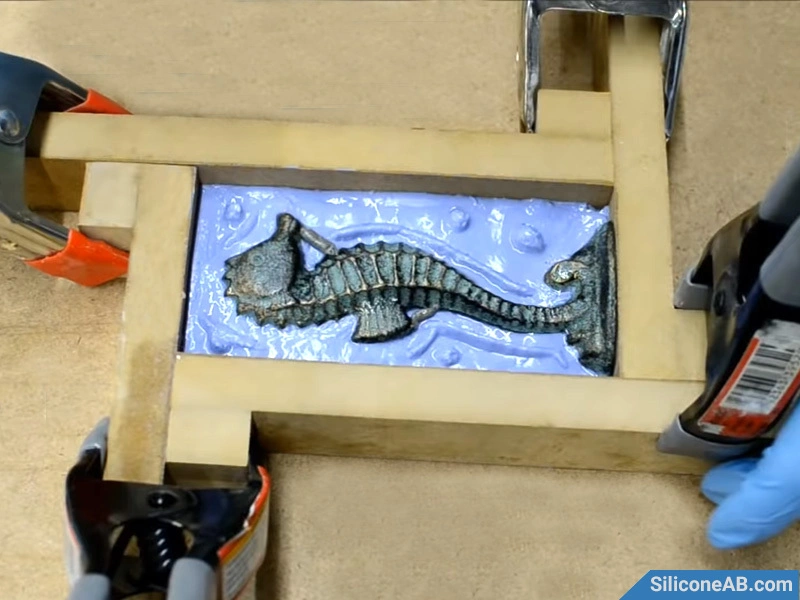 sealed seams
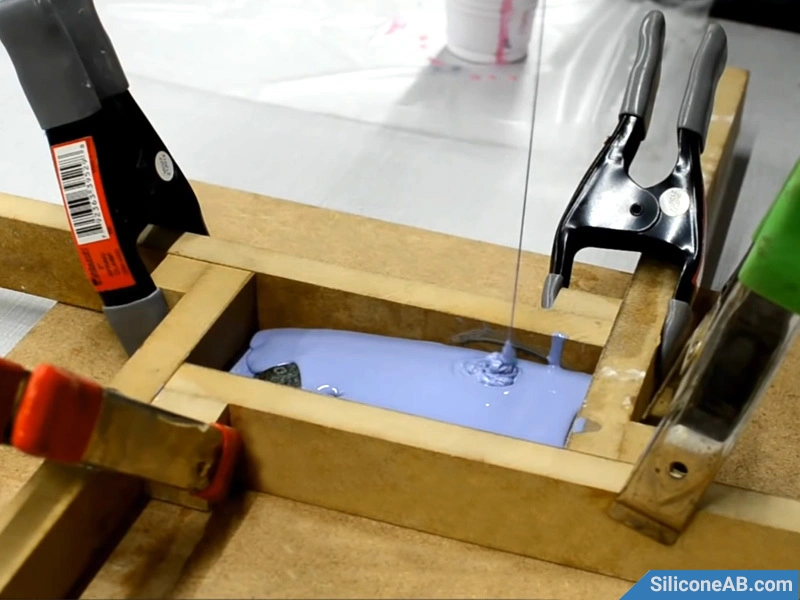 injection of silicone
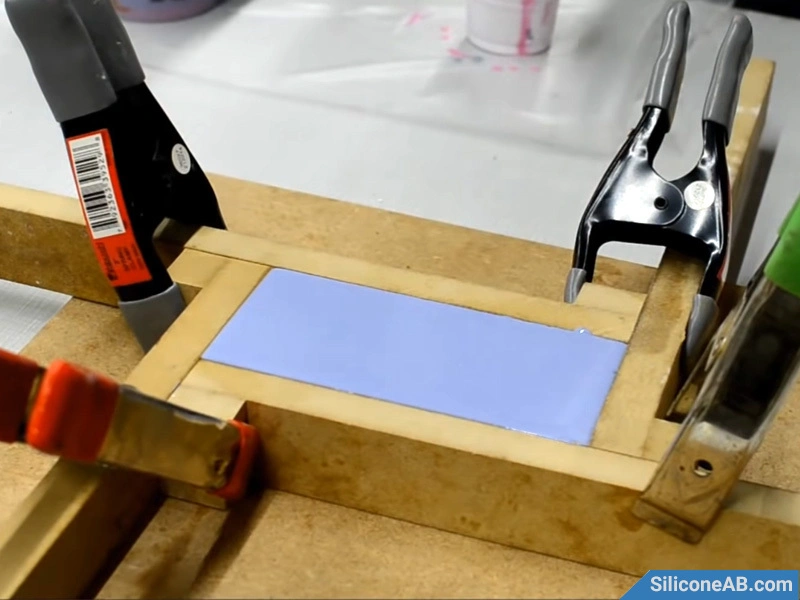 injection of liquid silicone
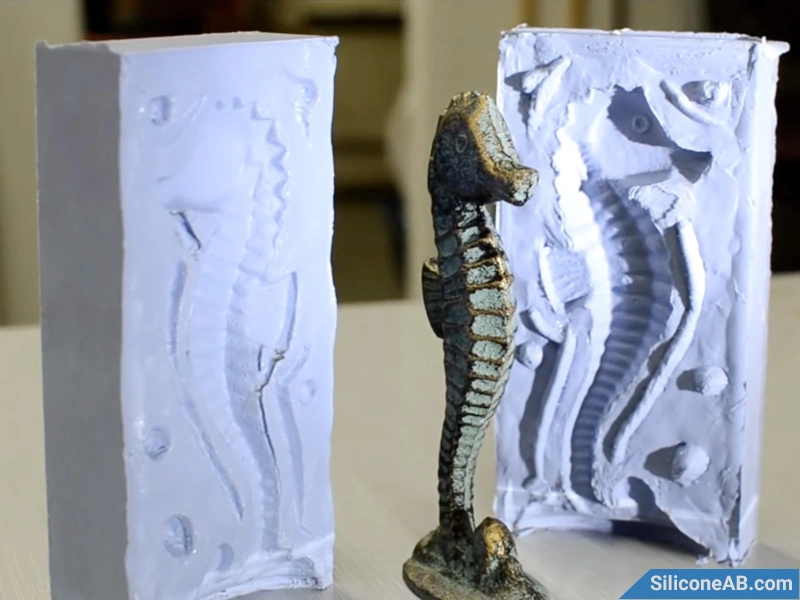
Step 8: Finalize the Mold
After the silicone is fully cured, remove the mold frame and separate the mold halves. Extract the master model, completing the two-part silicone mold.
 remove the mold box
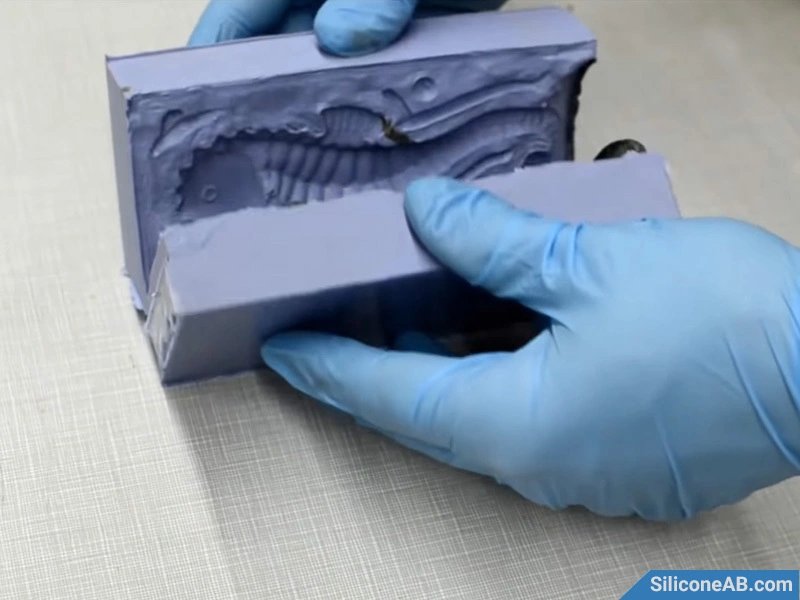 separate silicone mold
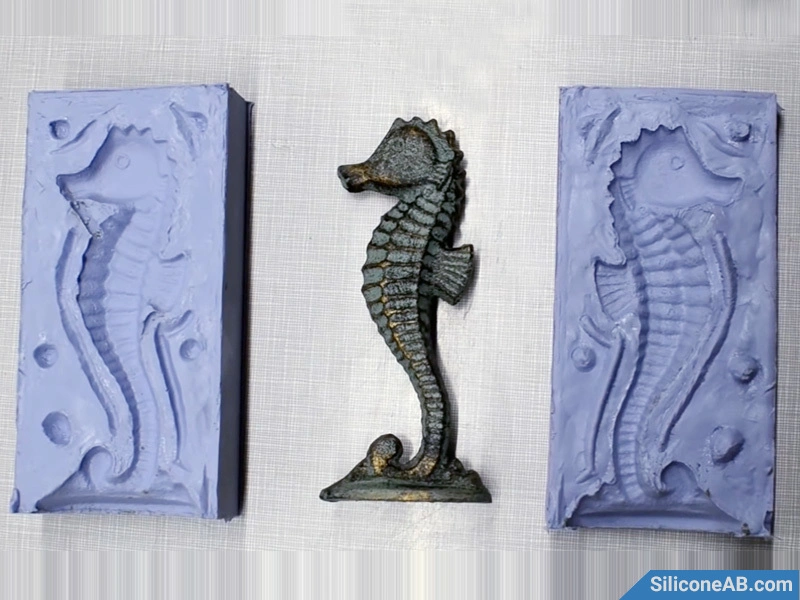 remove the master mold
By following these steps, you can successfully create a two-part silicone mold suitable for casting complex three-dimensional models. For further details and techniques, you can refer to specialized mold-making guides or consult with our mold-making experts.